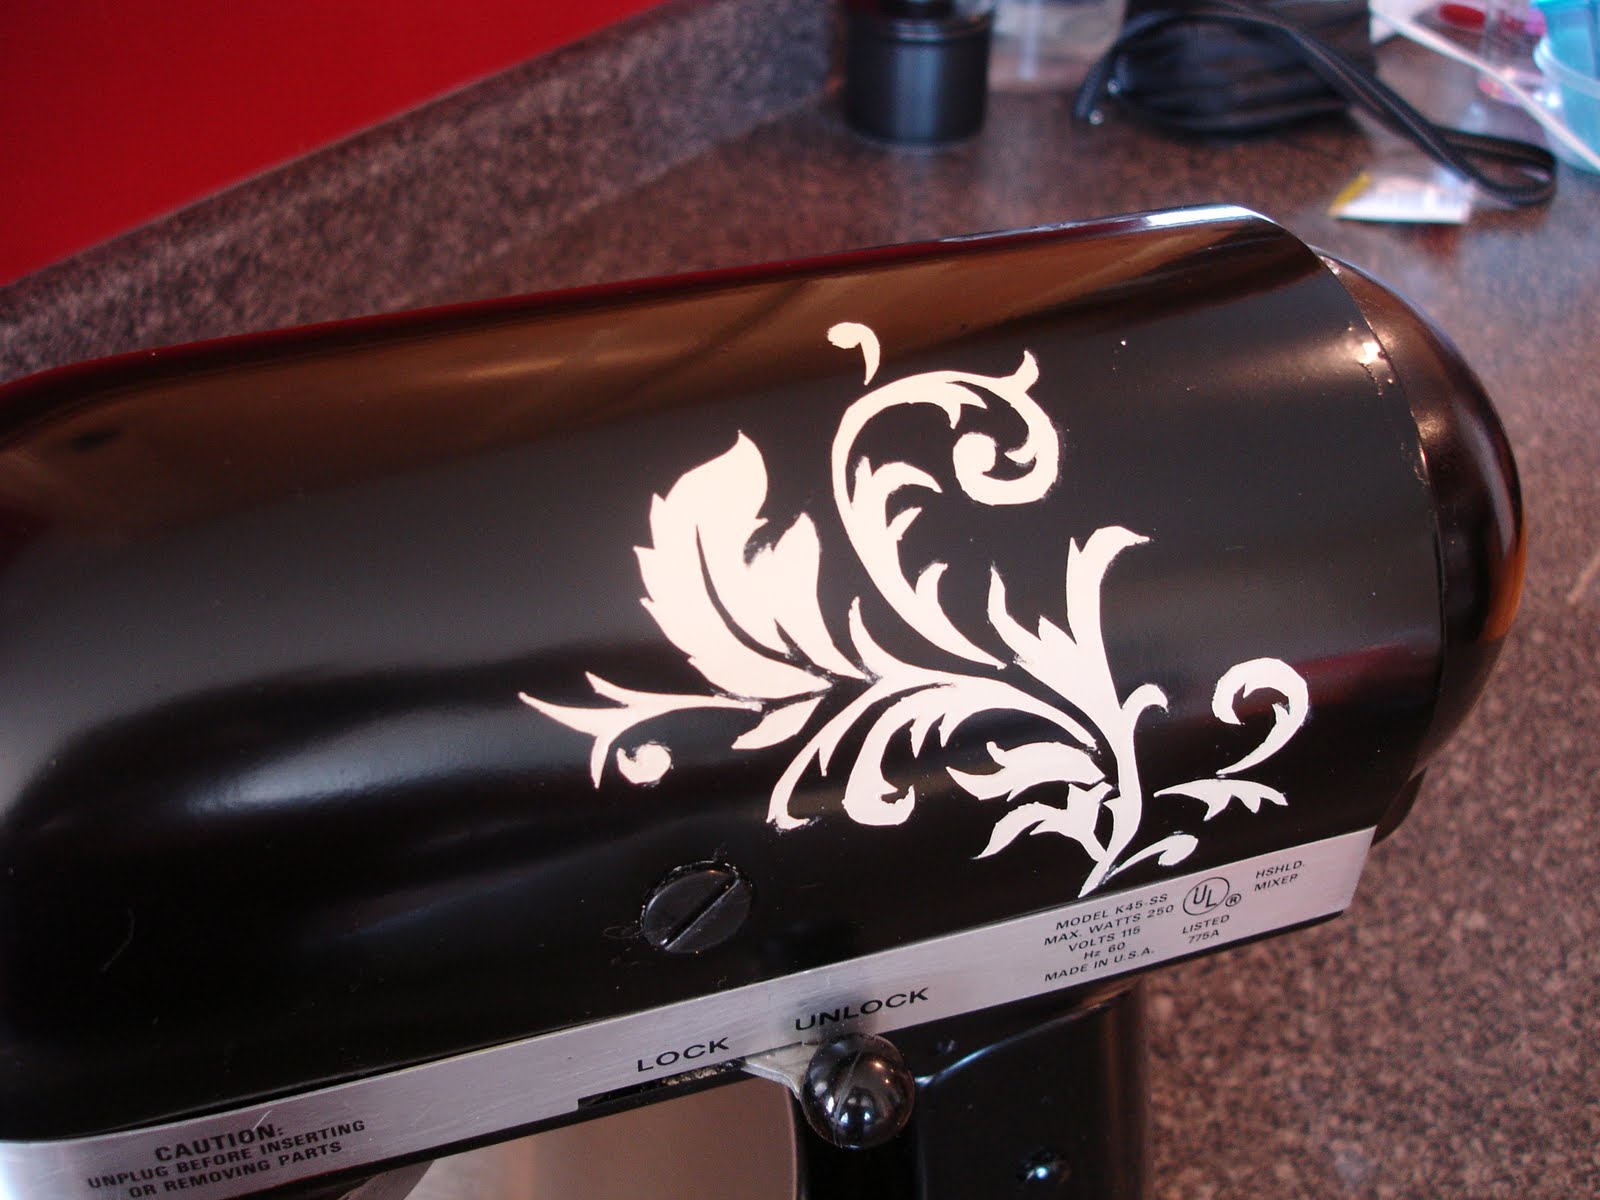
***Since I have had several ask...THIS PAINT HOLDS UP! It is washable and heat resistant- it is not your normal spray paint, it is an epoxy- basically the same paint your car has!***I don't think that I have been this proud of a project in a long time! Probably by far one of my favorites! (besides my desk!) About 3 years ago, my husbands aunt died and I inherited her old kitchenAid. We guess that it is over 20 years old! I am so grateful, but to be honest - it had seen better days and wasn't exactly the color I would have picked. A year ago I was in Home Depot buying spray paint (surprise, surprise) when I saw paint for appliances! That's when a little light bulb went off in my head!
"I can paint my kitchenAid!!!" So yes, it has taken me a year to do it! (does anyone else have that problem?)
So without further ado...
BEFORE: AFTER:
 BEFORE:
 AFTER:
So if you want to paint your KitchenAid, or any other appliance for that matter, here is how...
1. Remove all removable parts. (super easy - like 3 minutes easy!)


Once you remove the back thingy, you will see screws to remove the silver band that wraps around the front - I was originally going to just tape mine off until I saw it only had 2 screws holding it in place.

The bowl holder has 3 screws...

2. Clean all that GUNK out of every crevice (probably the hardest part!) Who knew cookie dough could be so invasive?!?

3. Lightly sand the surface. I used a foam sanding block so that I could easily sand all the curves. It doesn't need much - just enough to rough up the polish. (
NOTE: DO NOT sand anything you are not painting- it will scratch it up!)

4. Tape off anything you don't want painted, I did cut the tape around those screws (I just get picture happy!)

I just put a plastic sandwich bag over the wires in the back and secured it with a rubber band! (rocket science- I know!)
 Now for the FUN part!
5. Spray paint! I used Rust-Oleum Appliance Epoxy (black gloss)

Follow the directions on the can carefully
 ***If I had to do this again
, I would first tape off the bottom half and spray the top arm thing, then tape that off, and spray the bottom. I found that the "dust" from the spray dulled the shine on the other parts, so it took multiple coats - which makes bubbles if you do too many - which I did,
so learn from my mistakes!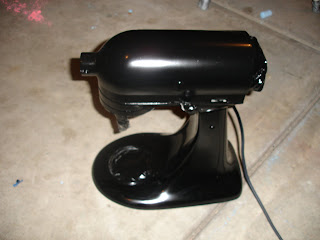
Now it is all pretty and shiny black! But am I satisfied? Am I ever satisfied??? :)
6. Tattoo time! (I like to call it a tattoo)
***Again - learn from my mistakes! If I had been smart, I would have realized that I painted the "tattoo" the same color my KitchenAid was originally, so I should have just put the vinyl on first then painted it black! Would have saved me time and a can of spray paint - oh well - be smarter than me! Trust me, it's not hard to do! :)

I found a design I liked on a piece of scrapbook paper from Hobby Lobby. I cut out a small piece of vinyl and taped them both on my window so that I could trace the design onto my vinyl. (the light from the window makes it possible to see through your vinyl)
7. Cut out the design with an exacto knife. Take your time, so that you don't get cuts where you don't want them - your paint will leak through those cuts.

8. Put contact paper, or transfer paper on the RIGHT side of your vinyl.
DO NOT SKIP THIS STEP! If you don't do this it will be nearly impossible to transfer it to your project -trust me, I learned the hard way and had to redo my stencil!

9. Peel off the back of the vinyl - it should now be "sticky"

10. Apply it to your kitchenAid - it is rounded, so really rub those stencils on, try to flatten all creases as good as you can so that the paint will not leak into them.


11. Cover anything you don't want the contrast paint on (I forgot to take a picture)
12. Spray with a contrasting color (I used the same Appliance Epoxy just in cream)
OHHH!!! And
don't forget to spray your cord to match! I just used 99 cent walmart black matt paint for the cord.
13. Unveil your results!!!
(I was giddy with excitement at this point! I couldn't believe how gorgeous it was!!!)


I love the little tattoo I did on the opposite side!
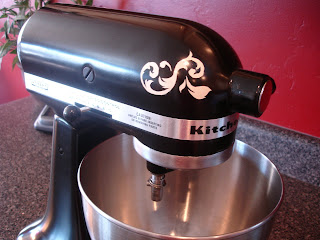
I debated putting another small one at the bottom of the base, but was afraid it would be too much.

 MORAL OF THE STORY: Everything
 has potential!!!
So go spray paint something!!!
Am I the only one who gets giddy after spray painting? I think it is
kind of like shaving for the first time, when you are done you want to shave more, so you shave your arms too! I have been searching my house for more things to spray paint!


I am linking up to the CSI challenge- wish me luck!!!